
Easy vocal recording with just one mic, Part 3
In this series, I’m going over some tips for getting better sounding vocal recordings. We’ll keep it simple, intuitive, and optimized for the home setting.
In part 2, we talked about recording gear. Today, we’re talking vocal postproduction techniques.
Use a de-esser
A de-esser is a compressor with a tight filter attached to it, arranged so that it brings down just the level of the harsh “ess” sounds of a vocal, without affecting anything else.
There’s all kinds of de-essers you can use, both free and paid. I find the de-esser inside of Logic Pro does a very good job, and it’s included in the cost of the program. Here’s how to set this up.
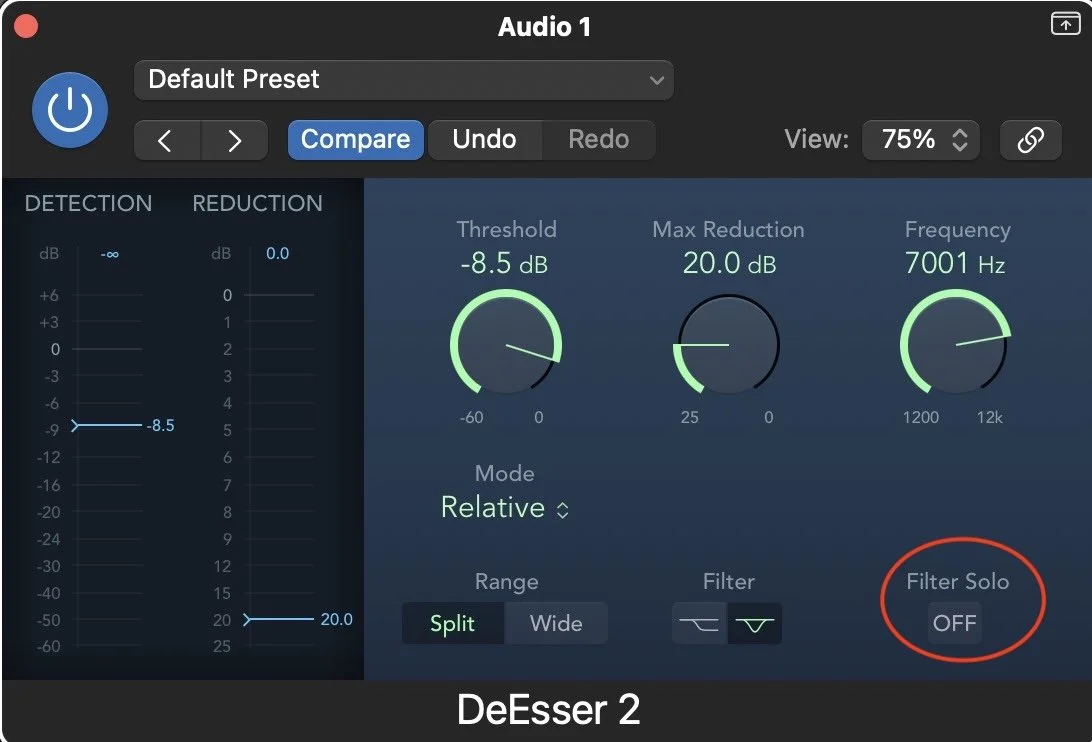
Step 1: Turn on filter solo
To get started, first add the DeEsser plugin to your vocal track.
Then, turn the “Filter Solo” button ON (pictured). This will let you hear only the sound of what the de-esser is hearing.
Step 2: Focus your filter on the “S” sounds
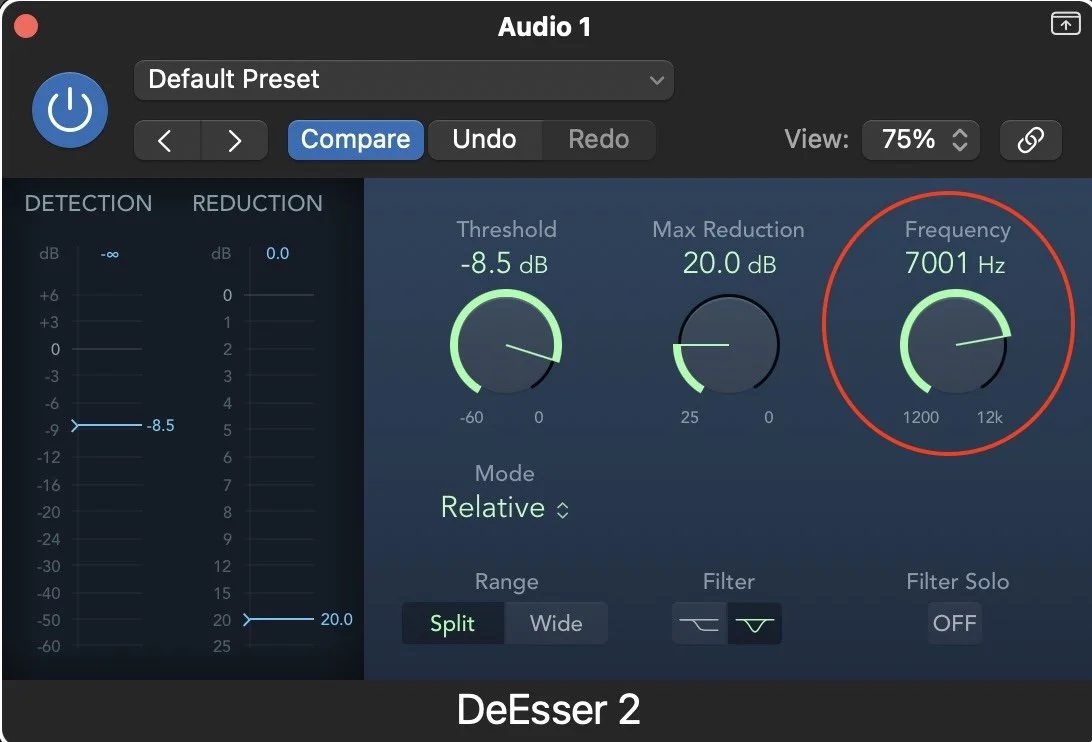
Next, with Filter Solo set to ON, dial in the frequency of the filter by turning the Frequency knob (pictured), until you’ve focused in on just the “S” sounds of your vocal recording. Each vocalist and every recording will be a little bit different, but I’d start by looking in the 5000-10,000 Hz area.
Step 3: Adjust your threshold
Once you’ve got your filter set to only trigger during the sibilant components of your vocal sound, turn the Filter Solo button back OFF to hear the complete vocal.
Now, slowly turn the threshold knob down (pictured), until you can hear and see the de-esser triggering.
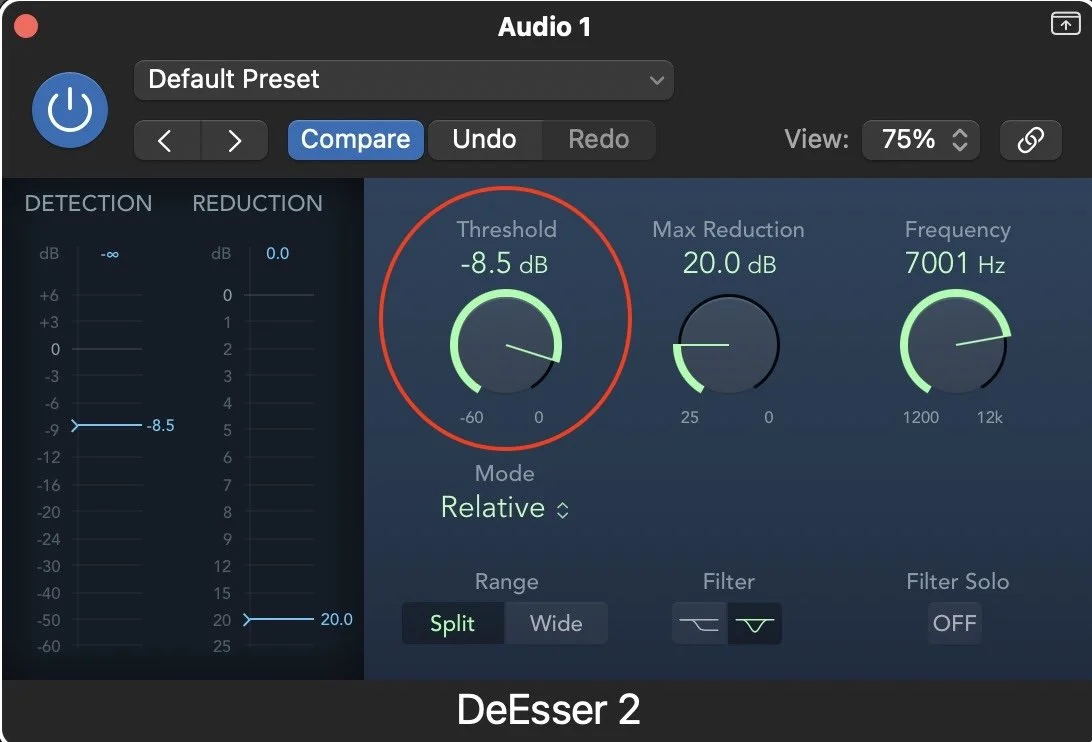
Be gentle at first: if you bring the “S” consonants down too much, it’ll sound like your vocalist has a lisp! You’re looking for just enough reduction to smooth the vocal and make it more pleasing to listen to. You can always turn your de-esser plugin on and off to hear the differences before and after.
It can be helpful to loop a section of your vocal that contains a lot of S consonants while you’re adjusting your de-esser. Each vocalist and every individual recording will require a slightly different level of ess adjustment, so you’ll need to tune this manually by ear, every time.
Always work from great source recordings
The best audio editing in the world can’t fix a poorly recorded, or a poorly performed vocal. Reference part 1 and part 2 of this series for tips on getting to this point in the vocal recording process.